Requirements:
- PPUPlayer 2.2+ (releases)
- Nintendulator (qmtpro.com)
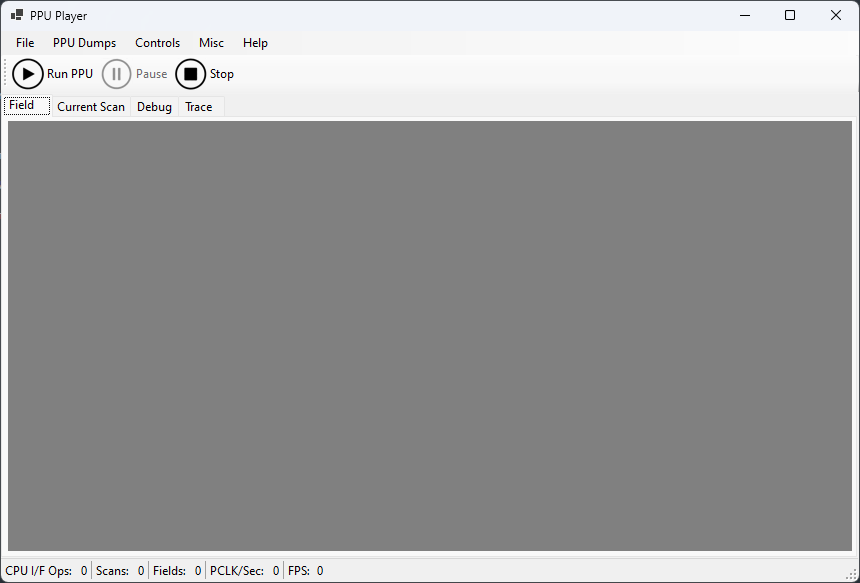
First run of PPUPlayer
Start PPUPlayer:
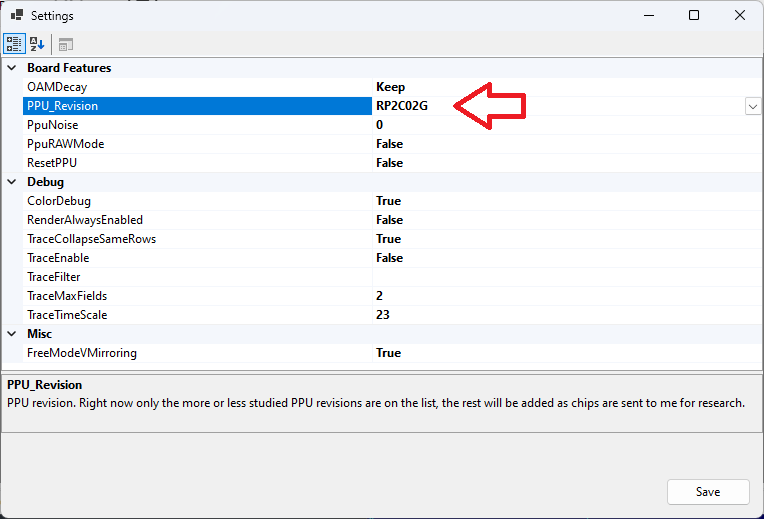
Select in the settings the PPU revision for which you want to get the video signal dump:
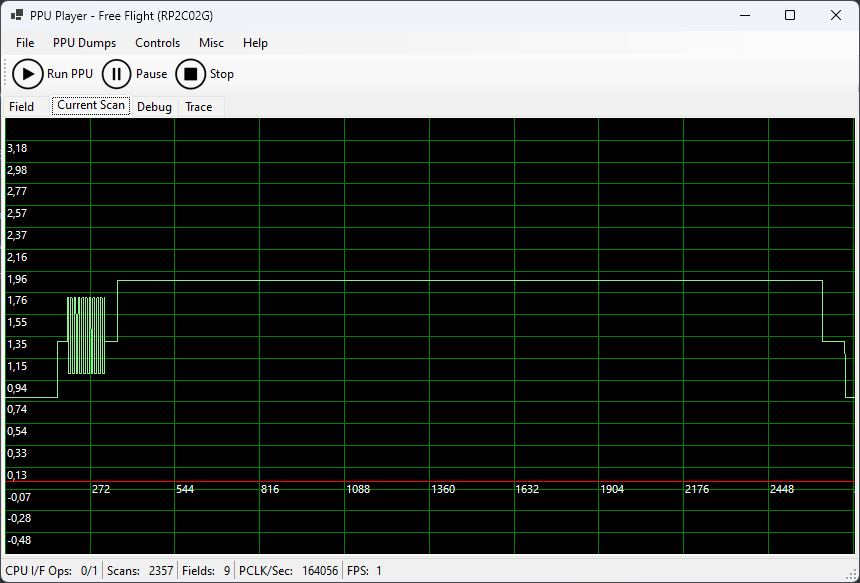
Run PPUPlayer in “free flight” (Run PPU). Go to the Current Scan tab and make sure the PPU is alive:
Dump of PPU state in Nintendulator
Run some game in Nintendulator, preferably without a complicated mapper.
Open the debugger and save all of the PPU memory:
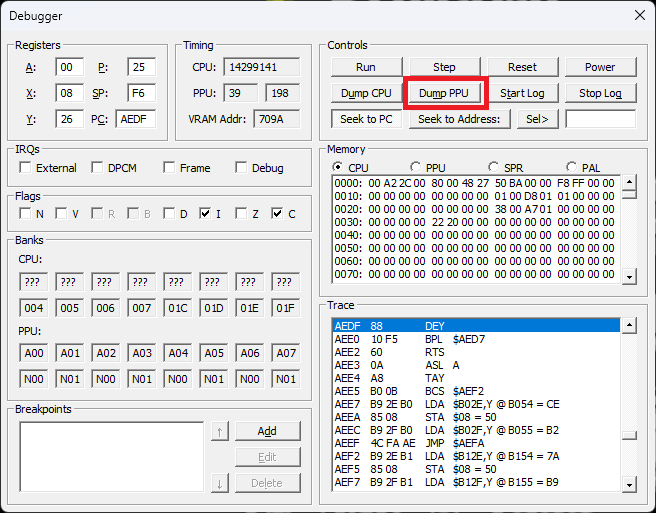
You will get a file with the extension .ppumem, which can be found somewhere in the depths of your Users/AppData folder.
Loading PPU state into the PPUPlayer
Select Load Nintendulator PPU Dump in the menu PPU Dumps and load the PPU memory dump from the Nintendulator.
This will result in something like this:
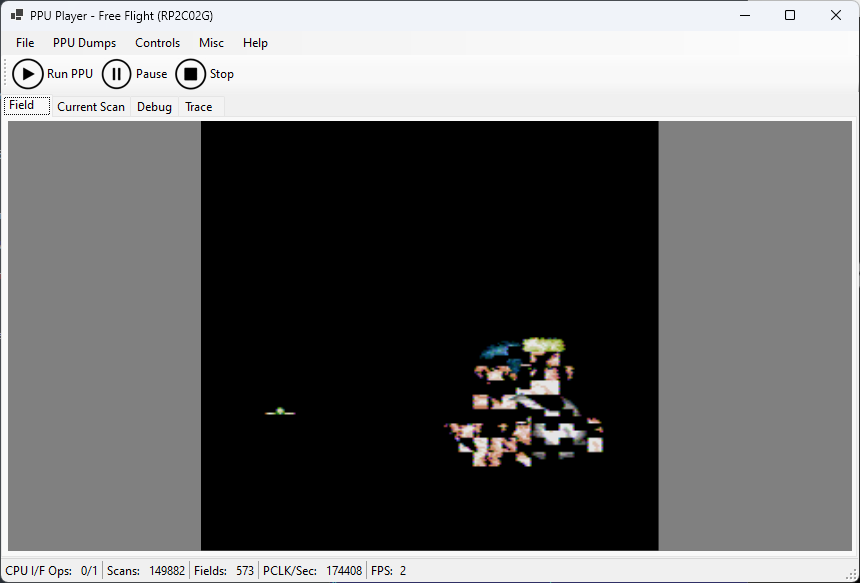
But oops. Something’s wrong.
The point is that the Nintendulator only saves the PPU memory, but not the current values of registers $2000 and $2001.
Especially important is register $2000, which sets the pattern table addresses and sprite size.
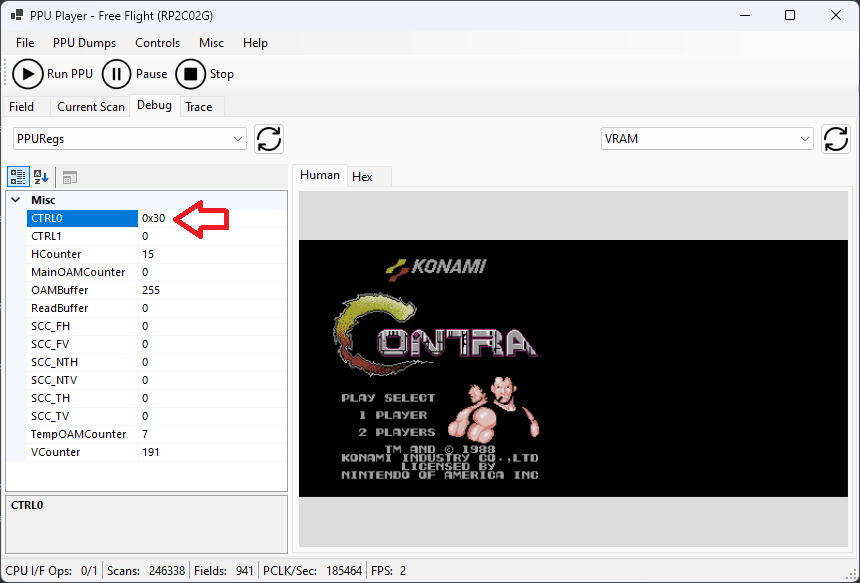
To fix this, go to the Debug tab and change the value of register $2000 (for Contra you need to set it to 0x30):
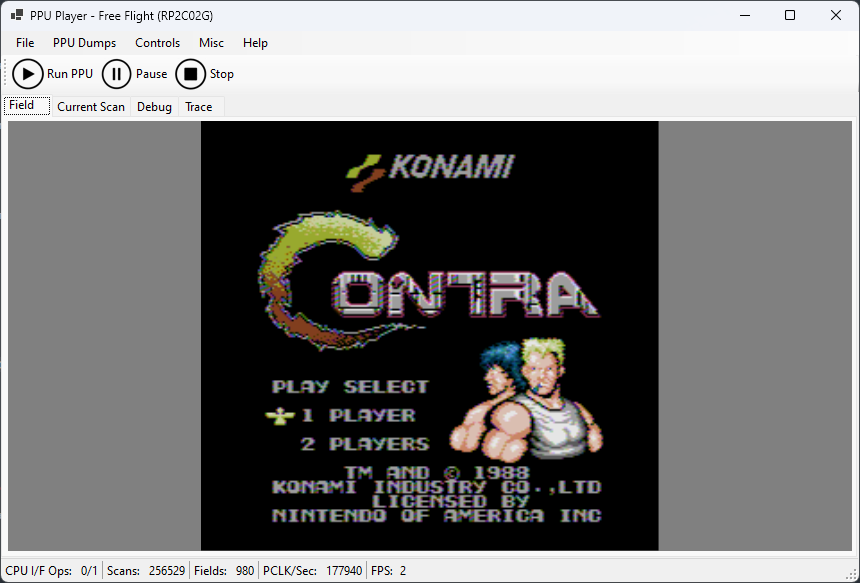
It turned out like this:
Turn on the video signal dump
There is only one small thing left to do.
In the menu PPU Dumps you need to select Start video signal dump, specify the file, and then the dump to the video output file of the PPU chip will start automatically.
- For a “composite” PPU (2C02/2C07) we dump a
floatarray — each value represents a voltage (signal level). - For an RGB PPU, 4 bytes are dumped (in order R, G, B, SYNC), which correspond to the RGB PPU outputs.
RAW dump
It is possible to get the pixel value before the DAC circuitry instead of the PPU video signal:
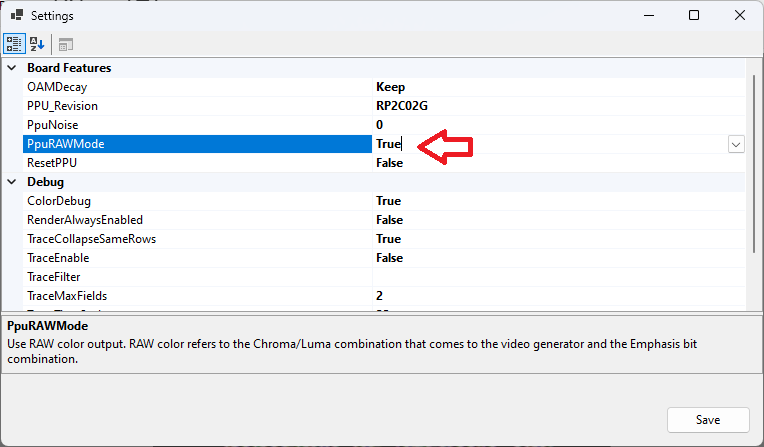
In this case uint16_t values of the following format will be dumped:
/// <summary>
/// Raw PPU color, which is obtained from the PPU circuits BEFORE the video signal generator.
/// The user can switch the PPUSim video output to use "raw" color, instead of the original (Composite/RGB).
/// </summary>
union RAWOut
{
    struct
    {
        unsigned CC0 : 1;   // Chroma (CB[0-3])
        unsigned CC1 : 1;
        unsigned CC2 : 1;
        unsigned CC3 : 1;
        unsigned LL0 : 1;   // Luma (CB[4-5])
        unsigned LL1 : 1;
        unsigned TR : 1;    // "Tint Red", $2001[5]
        unsigned TG : 1;    // "Tint Green", $2001[6]
        unsigned TB : 1;    // "Tint Blue", $2001[7]
        unsigned Sync : 1;  // 1: Sync level
    };
    uint16_t raw;
} RAW;
Summary
PPUPlayer has become a powerful tool in exploring the PPU. There is a real live PPU living inside of it.
Feel free to push the different buttons in PPUPlayer and experiment. If anything, there is also a presentation nearby.